Welcome to part 4 of our series of tutorials on building a website with MODx CMS. So far we've looked at:
Part 1: Introduction to MODx
Part 2: Installing MODx
Part 3: Working with Templates
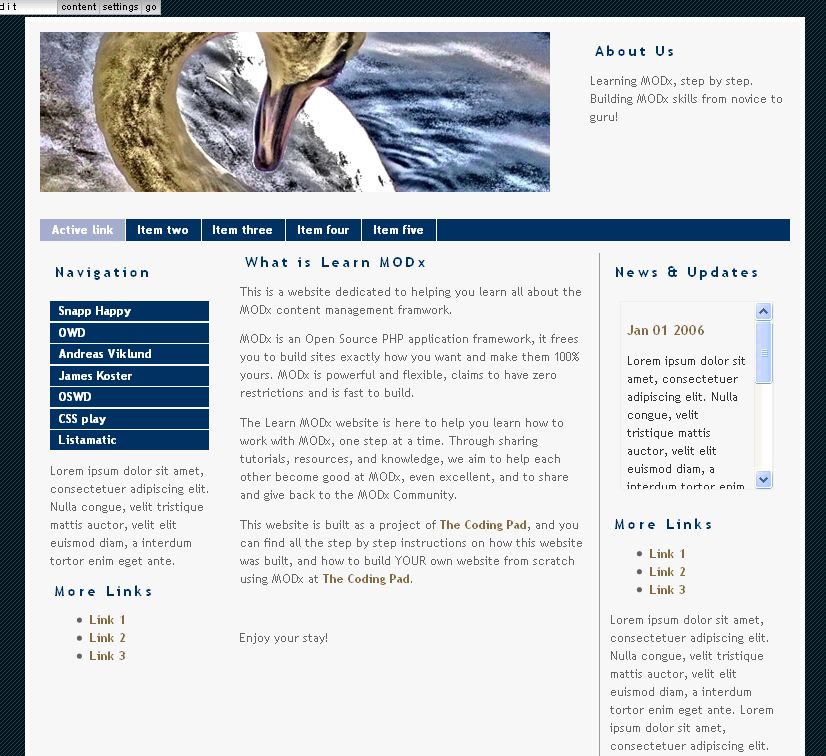
As we work through these tutorials, we're building a MODx resource site called Learn MODx. In the last installment we started working with templates and moved our site from using the minimal base MODx template to the nice blue Swansong template. So far our website looks like this: (you can click on the images to see a larger view)
 In this tutorial we are going to get a gentle :) introduction to chunks. I had mentioned in the last post that we would delve into chunks AND snippets in this post, but I realized after some thought that I was being a tad too ambitious. I feel that it's better to introduce each in its own post. I apologize for any crashed hopes and dreams, and any harmed puppies and turtles, but we will look into snippets in the next post.
So what are these chunks anyway? Chunks, to me, are like little mini-templates.
Tag Archives CMS
Welcome to part 3 of our series of tutorials on building a website with MODx CMS. So far we've looked at:
Part 1: Introduction to MODx
Part 2: Installing MODx
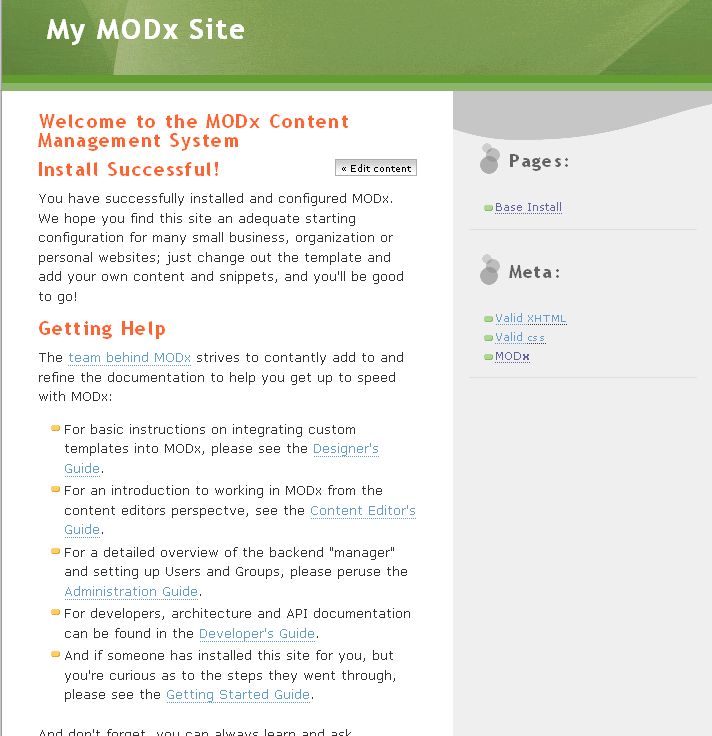
As we work through these tutorials, we're building a MODx resource site called Learn MODx. So far our website looks like this: (you can click on the images to see a larger view)
 If you recall, we didn't install the sample website but instead opted for a minimal install, which I feel is cleaner and easier to work with. As I clarified in my addendum to the post on Installing MODx, Shane's comment about the value of installing the sample website as a demo to see how MODx does things is an excellent idea. If you didn't read the addendum to that post and the comments please do so.
In today's post, we're going to start looking at templating MODx. We're going to begin implementing a new template to our site to give it a unique look and in the process we'll learn about some of MODx's template tags.
 The first ever (I believe) MODx book is now available! It is titled MODx Web Development, authored by Antano Solar John and published by Packtpub.
You can get a copy of MODx Web Development at Packtpub (ebook costs $22.39, paperback costs $35.99, bundle costs $40.79).
Here is a quick rundown of the contents of the book:
Welcome to part 2 of our series of tutorials on building a website with MODx CMS. In part 1 we had a brief introduction to MODx, and in this second installment we're going to download and install MODx and do some basic configuration. Following the modality of other tutorials on this blog, I am actually going to build a website to accompany this tutorial so that you can track your progress with mine and see the actual end product of the different techniques and skills that we'll be covering. As of this writing, MODx is currently in version 0.9.6.3. Do use the latest stable version. If any of the steps in these tutorials change, I will do my best to make a notation in the relevant posts. NB: I initially wrote these tutorials for MODx Evolution 0.9.6.3 but if you're using Evolution 1.o+ they will work just fine. There are some changes in terminology, and you can get a basic idea of the differences by watching this screencast that I created. If it makes you more comfortable you can work through these tutorials using 0.9.6.3 and then upgrade your website to 1.0+ following the directions on this screencast. These tutorials will NOT work for the Revolution 2.0+ branch of MODx. What Will We Build? Well, just like we're doing in the Drupal series, we're going to build a MODx resource site aptly named Learn MODx, but the skills we learn and use as we build this website can be extended and adapted to any kind of website you want to build. Because MODx is highly adaptable and flexible, you will find that there can be many ways to accomplish one goal, and the way we do it here is not the only way to do it. I welcome your feedback, comments, and suggestions at every step.
In the first part of this tutorial we introduced Drupal 6. As part of your homework I asked that you install a webserver and get an FTP program so that you can install and run Drupal. In this tutorial we're going to go ahead and start the process of installing and configuring our Drupal install. The website that I am building and showing you screenshots of is Learn Drupal, the Drupal resource site that I mentioned in the last post. I am building it online so that you can follow along or visit later and see how different things that we mention here were implemented. 1. Create your settings.php file. You can do this step before or after you upload the Drupal install files onto your server. Go into the sites/default folder. Here you will find the file default.settings.php. Copy and paste this file and rename the copy to settings.php. So you should now have two files in the sites/default folder - settings.php and default.settings.php. Drupal needs both of these files to exist for the install to be successful.

