Welcome to part 6 of our tutorial on building a website with Drupal 6. Previously we covered:
Part 1: Introduction
Part 2: Installing Drupal 6
Part 3: Configuring your Site
Part 4: Playing with Blocks
Part 5: Playing with Modules
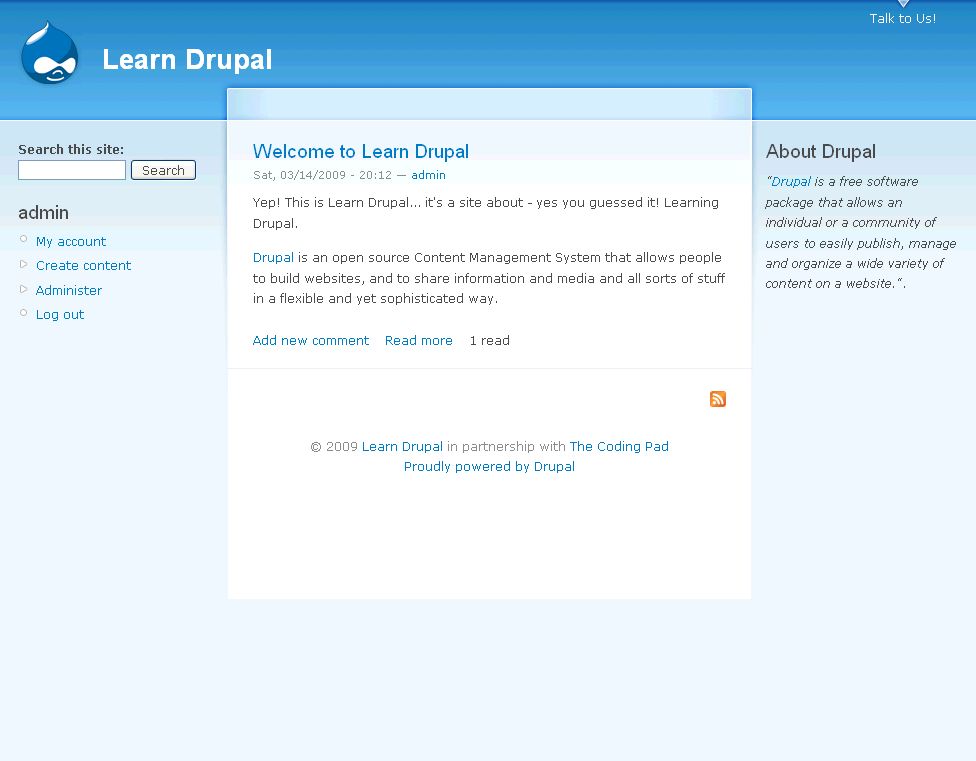
As we go through this tutorials I am building a Drupal resource site called Learn Drupal. In the last tutorial we played with blocks and planned and started implementing the layout of our website. So our website so far looks like this:
We talked about site layout when we discussed blocks in part 4 of this series, and in part 5 we discussed functionality using modules. The two main basic components left to consider are appearance, and content. We will tackle the first of these two, appearance, in this post.
When you look around the web, you see websites of all shapes and colors, some very visually appealing, some not so hot. Some are very plain and simple, without a lot of thrills and frills, and others are very elaborate and flashy. In this I am referring simply to appearance, not functionality. Some have a lot of colors, other just two or three.
The visual look of your appearance, it’s skin in matter of speaking, is controlled in Drupal, by Themes.
Themes:
A theme is a file or collection of files (PHP, INFO, CSS, JPG, GIF, PNG), which together determine the look and feel of a site. (http://drupal.org/getting-started/before/terminology#t)
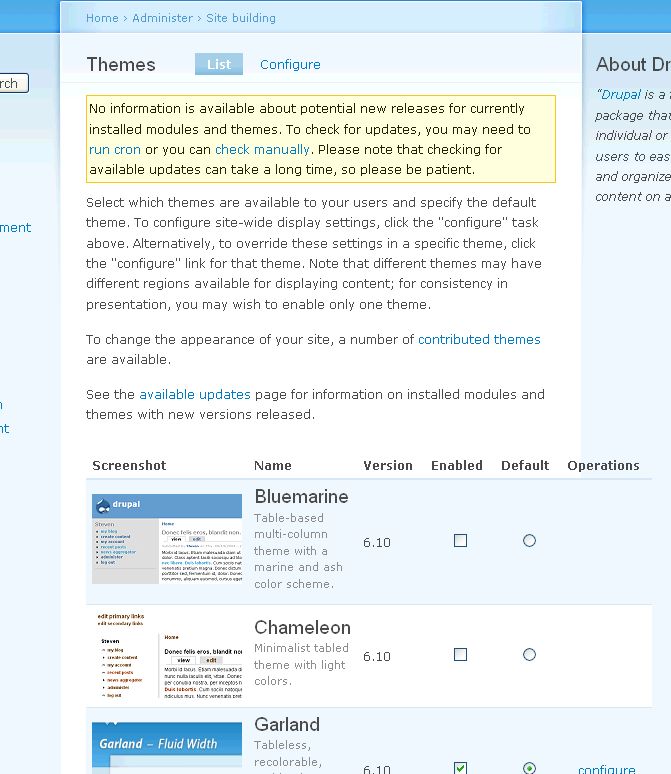
The default Drupal install comes with the several themes, and the one enabled by default is the Garland theme. You control what theme your website uses by going into the Administer -> Site Building -> Themes page.
You can see several themes listed there, as well as screenshots of what those themes look like enabled. The square checkboxes allow you to enable a theme so that it becomes available for use, while the round radio buttons allow you to select which theme you want to be the default for your site. You can have multiple enabled themes but only one default one. The version column allows you to make sure you activate a theme that’s compatible with your version of Drupal.
As you can see from this page, Drupal comes installed with 6 themes. You can choose to use one of these, but if none of them tickle your fancy, there are many places out there where you can get free themes, buy themes, or hire someone to create themes for you. You can even learn how to build your own themes! The first place to start when looking for themes is ofcourse Drupal.org, where you can find a collection of themes (http://drupal.org/project/themes). You can see these themes in action and test run them at Theme Garden. Searching Google will yield many other sources of free Drupal themes. One of my favorite sources of free Drupal themes is Roople Themes, because their themes are pretty sweet and give you many regions to work with.
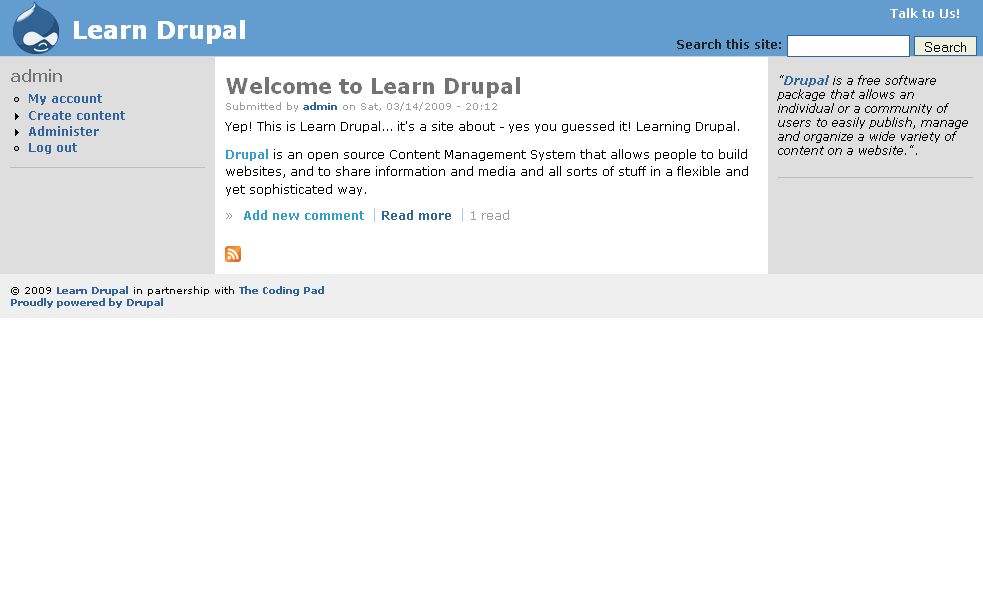
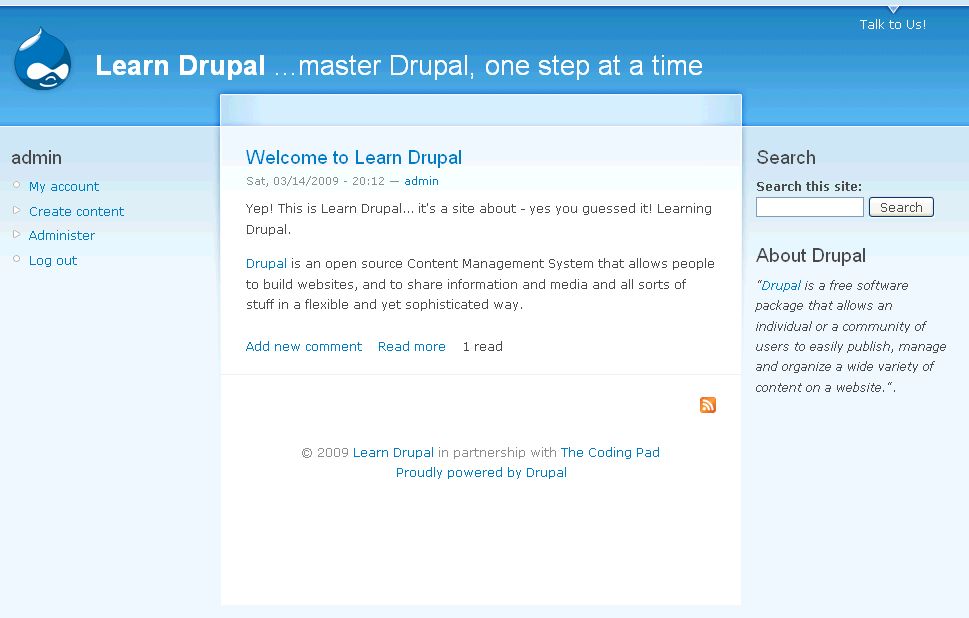
So, let’s play with themes! As you can see, our current enabled theme is Garland. Let’s change that to Bluemarine. Make sure check both Enabled and Default. Then scroll down and click Save Configuration. You notice two things immediately. One is that your page looks different (that’s the new theme in action), and the other is that you now have the word “configure” next to the Bluemarine theme, an option that wasn’t there before. If you go back to your homepage, you can now see the new “look”.
The other thing you’ve no doubt noticed is that the search box is in a different location and even the footer looks different.
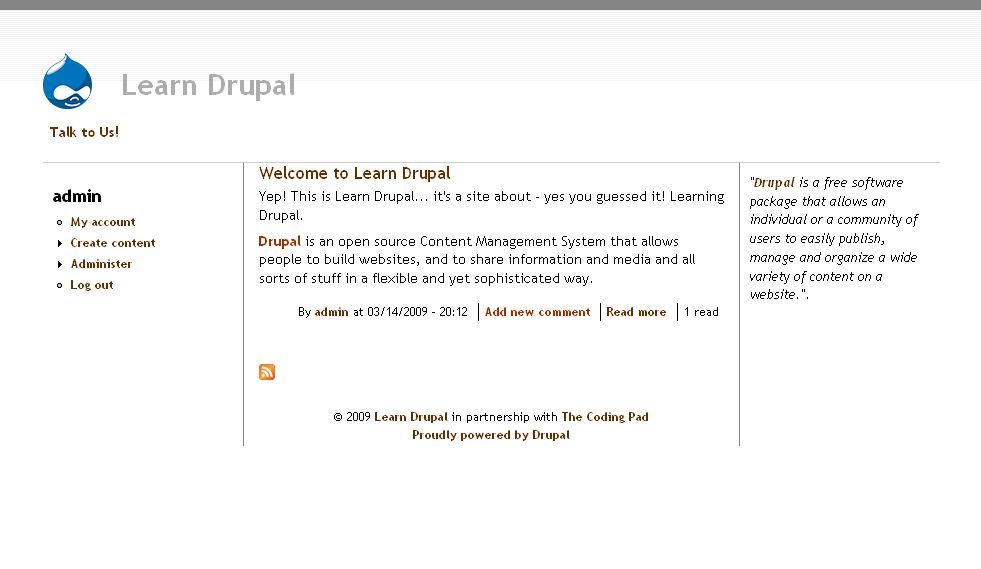
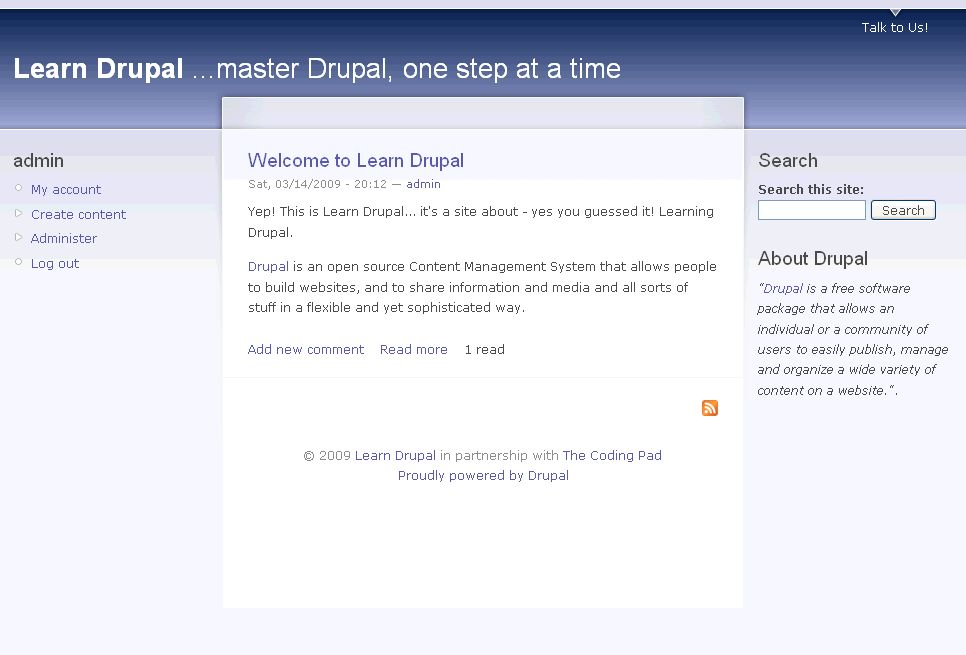
Let’s try another theme, go back into the theme admin page and now enable and make default the Chameleon theme:
Again, a totally different look, and this time there’s no search box. Interesting huh?
So as you can see, changing the look of your site and making it uniquely you is, at it’s most basic, simply a matter of themes.
But what was that configure link that we saw earlier, and what does it do? Well, you can change certain things about how your site appears from the theme perspective. We can set the site logo, the site favicon, and some things about what our site interface shows by configurig our themes.
So now that we know what we need to go, why don’t we go ahead and find a look that looks good on Learn Drupal? I have decided, for this now anyway, that I’m going to stick with Garland as my theme, but we will change it later. So let’s go back and change our default theme to Garland and save our choice.
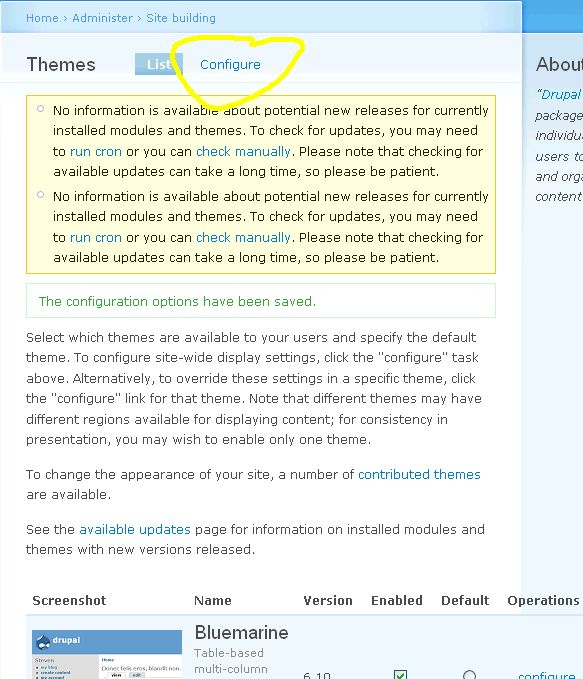
Then, while in that theme admin page, click on the “Configure” link at the top of the page, as highlighted below:
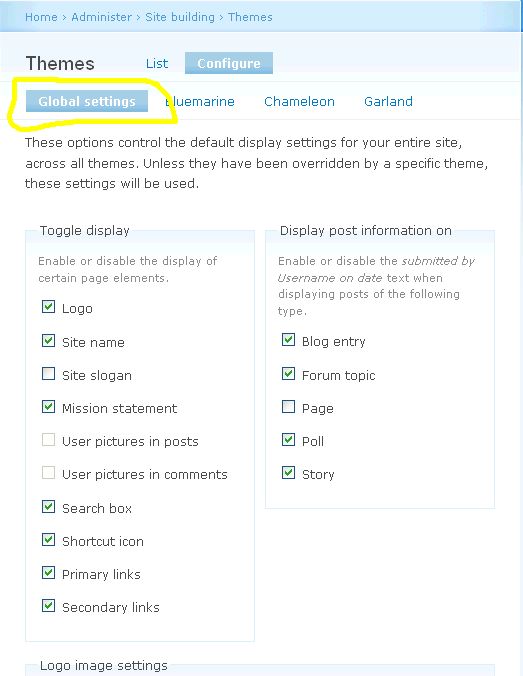
This takes us to the theme configuration page, where, as you can see, you have access to configure Global settings that will apply regardless of the chosen theme, and also for your different enabled themes, in our case Garland, Bluemarine, and Chameleon. If you have other enabled themes they should appear on that list too.
It is advisable to start with your global settings first, and then theme specific settings next. So let’s see what we have in our Global settings. The first section allows you to set whether certain elements of your website are shown. Recall that when we were configuring our site we entered text for a site slogan, but it never showed up on our page? Well, here’s why, it’s disabled by default. So let’s go ahead and enable that by selecting the box. I am going to leave Mission Statement selected because even though my website doesn’t have one now, I may add one someday. We will leave the User options as is, they’re grayed out because we can’t change them, so we’ll come back to them later.
You can see from that list also that you have the choice to untoggle the display of the Search Box, Primary Links, and Secondary Links. Now you may be wondering, why in Drupal’s name would I want to turn all that good stuff off?? Well, that’s a good question, and you may indeed want to toggle these off for one simple reason – it gives you more control over where you place them.
Let me explain. Every theme comes with it’s own furniture arrangement. For example, the Garland theme places it’s Search Box on the left sidebar, so that as soon as you enable the Search module, Garland says “aha, come here you!” and throws it in left sidebar as we saw in the last post. If I turn off the theme controlled display of the Search box, I can go into Blocks and place the search box wherever I want it! And Garland won’t have a say in the matter! The same applies to the Primary and Secondary Links.
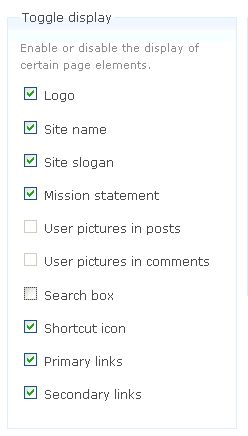
Let’s try that now, why don’t we? I’m going to leave the Primary and Secondary Links as is, and I’m going to toggle off the Search Box display. So here are my settings:
If you now save and go to your main page… wait a minute? What happened? NO change!! Our search box is still there and I don’t see a slogan!
Ahh, we have a problem, and this problem is called theme overrides. While the global settings should apply sitewide, some themes are coded to override the global configuration. This is a good lesson to learn early on, because whenever you activate and enable a theme, you need to go into it’s configuration page to make sure your settings have been preserved, and to reset them if necessary. Looks like we need to do that with Garland… sigh…
OK, back into the theme admin page, Configure, and these time go to the Garland theme, or whichever theme you’re using. If you’re in the Garland configure page, you’re probably asking yourself.. what’s all this?
Garland comes with a color selector that allows you to change it’s base colors, a pretty sweet feature. So you can have the exact same Garland look but with a different color. We’ll play with that in a minute, but we have some matters to address first. Scroll down and just below the color picker you’ll see the Toggle Display choices. Let’s set that to match our global configuration by unselecting the Search Box and Selecting the Slogan. Save configuration and go back to the main page.
Excellent! Our site slogan now appears and the search box is gone. Beautiful.
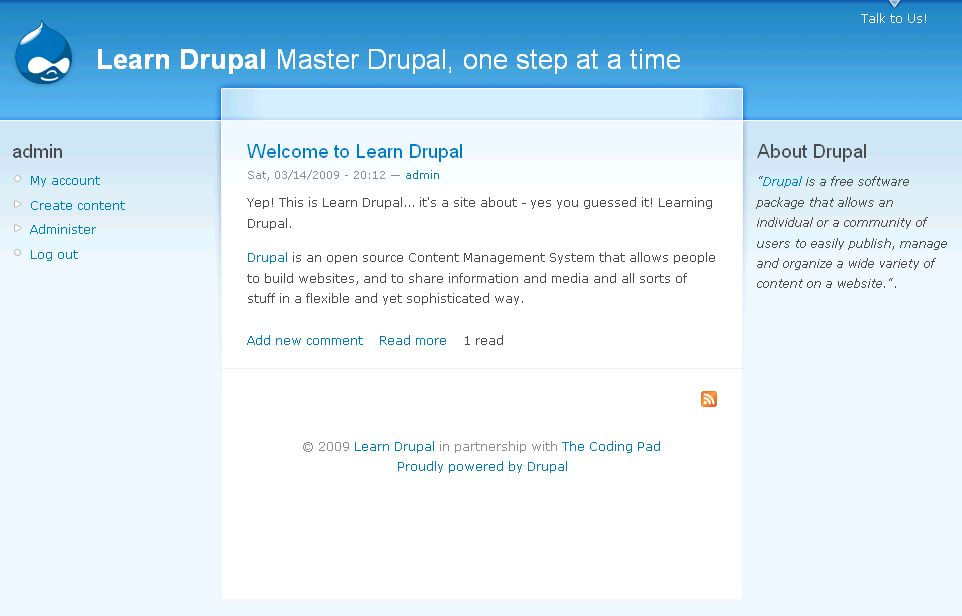
I don’t really like the way the site slogan looks so I’m going to go into the Site Information page and change it. I’m also going to go into the Blocks page and place my search box where I want it, in the right column. So now the home page looks like this:
You should be able to make these changes on your site by recalling what we learned about configuring our site, and also about working with blocks.
If we now go back to the theme configuration page, on the Global Configuration page, we can continue configuring the theme controlled parts of our site.
To the right of the Toggle Display options we were working on, you see “Display Post Information on”… this allows you to select on what content types you want to have author and date information added. This is important because you may not want certain content types to have that kind of information, depending on the kind of website you’re building. For example, if you’re using the Page content type to display static information such as Legal Disclaimers, About Us, etc, you may not want the Submitted by Admin on blabla to appear on the page because you want it to look like a traditional page. As you add more content types, you’ll want to come back to this page to select whether or not you want those content types to display post information. The settings as they are fine for now for my site.
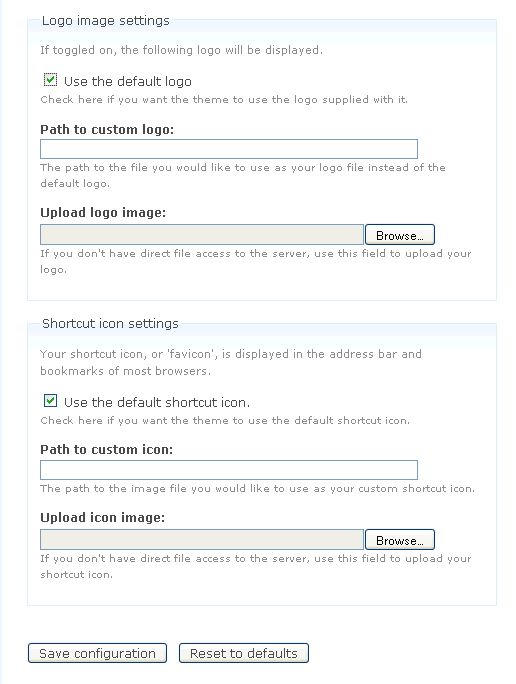
Changing the Logo and Shortcut Icon on your Drupal Website
The last part has to do with changing the logo. Right now you have the drupalcon, the drupal icon at the top. This is where you can change that icon or leave it as is. If you install other themes, they may come with their own logos and shortcut icons.
You can choose to have your own logo, or no logo, on your website. You will also want to change the shortcut icon, which is what appears on the browser tab when a user is browsing your site. You can select to not use one if you so choose.
Since this is a website about Drupal, I will leave the shortcut icon as is, but I will remove the logo, because I want to find something more unique to add later on.
If you make any changes here, remember to go and check the theme specifics settings to make sure your global changes are not overridden by your theme configuration.
Let’s do one more thing to make our site look more like our own site. Remember the Garland color changer, let’s go play with that. Go to theme administration and select to configure the Garland theme. You can choose to change the colors of different components separately, or you can select an overall scheme. In either case you get a preview of what your colors will look like. I’m selecting Nocturnal for Learn Drupal because I happen to be a very nocturnal person :)! Have a blast picking your colors, and remember to scroll down and click Save Configuration for your changes to take place.
Are you feeling good about this yet? Our website is shaping up, looking more and more unique, and in today’s post we’ve learned how to change themes and enable them, and how to configure and make changes to our theme settings. I don’t know if your website has lots of yellows and greens and looks like a badly planned flower garden, but here’s mine, all cool, subdued and nocturnal, just like me! 🙂
In the next post, we’re going to cover how to find and install contributed themes and modules to add even more uniqueness and functionality to our website. This is important to know because chances are that as you’re browsing through the web, you’re bound to run into modules or themes that you want to incorporate into your website, and it’s good to know how to go about doing that. Once we have that done, we’ll be ready to get into the meat and bones, adding content to our website.
Homework: (Weekend’s Over!)
- Try activating and configuring the different themes in your Drupal install, seeing what they look like and what configuration options they give you.
- Find a logo and icon you like and try adding them to your website. Or even better, if you’re graphically inclined, design and make your own logo to give your site that really unique touch.
*eagerly awaits the next installment
thanks again
This is great!!
I have a search box option in the configure page of the theme I am using, BUT I cannot click on it to turn it on or off! do I need to add the code into the page.ptl.php file? to enable the search box?
Do you have the search module turned on?
I have the module tick now, I chose to have the search box in the left hand column, but now in admin mode there is two search boxes one top right and one in the left hand column .
I cannot view the search box when I am logged out of admin mod but i guess will cover that in the next tutorial.. I am looking forward to completing it tom
Yes, I think i do cover that in the next tutorial. It’s all basically about setting permissions to allow users who are not logged in to see the search box. Additionally, you probably need to disable the one in your theme and then position the search module in the block where you want it. i go over all that in the next part, if I’m not mistaken. If you can’t find it let me know.
mary
In the theme configuration page I do not see a color changer.
Vahid
What theme are you using?
mary
Hi Mary,
I am using Garland.
Vahid
I too don’t see a color changer for the Garland theme . I am using Drupal 6.17 running on Windows XP, Apache 2.2, PHP 5.3.13
I only see Toggle display, load image settings, and shortcut icon settings. No color settings or display post information on…
I figured out my problem when I read your Part 7. The GD library module was not enabled in my PHP install. Once I enabled the module, I now see the picker. I hope this helps others.
P.S. I am a newbie to Drupal and this is one of best tutorials that I’ve came across. Thank you for taking the time and putting together this very well written tutorial.
Sorry, it’s PHP 5.2.13….
Hi .
I like Drupal for its functionality and would like to have that functionality in my website, the question is if I can use drupal to make it looks the same?
Thanks.
H. Diz
Thanks for the feedback, yes you can, you would just need to get your current template converted to a Drupal theme.
Another good one…Thanks
(NO NEED TO PUBLISH REALLY)
It says:
We can set the site logo, the site favicon, and some things about what our site interface shows by configurig our themes.
It should say (see configuriNg):
We can set the site logo, the site favicon, and some things about what our site interface shows by configuriNg our themes.
IN
If you now save and go to your main page… wait a minute? What happened? NO change!! Our search box is still there and I don’t see a slogan!
It did not happen to me. Something is strange here. It seems I do not have that theme overrides
AND
you need to go into it’s configuration page to make sure your settings have been preserved, and to reset them if necessary. Looks like we need to do that with Garland… sigh…
is really confusing
AND
Scroll down and just below the color picker you’ll see the Toggle Display choices. Let’s set that to match our global configuration by unselecting the Search Box and Selecting the Slogan. Save configuration and go back to the main page.
I did not get anthing from here..got absolutely confused (first time during tutorial…!)
recomendation
from
If we now go back to the theme configuration page, on the Global Configuration page, we can continue configuring the theme controlled parts of our site.
add
If we now go back to the theme configuration page, on the Global Configuration page (administrer->site building->themes->configure), we can continue configuring the theme controlled parts of our site.
AND, in
Go to theme administration and select to configure the Garland theme.
I was confused… I did not get it…perhaps a small figure?
I have been following this tutorial from Part 1 and it has helped me greatly in understanding the basic concepts of blocks, themes, modules, etc.. Thanks alot!