Welcome to part 9 of our tutorial on building a website with Drupal 6. Previously we covered:
Part 1: Introduction
Part 2: Installing Drupal 6
Part 3: Configuring your Site
Part 4: Playing with Blocks
Part 5: Playing with Modules
Part 6: Playing with Themes
Part 7: Installing Modules and Themes
Part 8: Pathauto, Content, and Content Types
As we go through this tutorials I am building a Drupal resource site called Learn Drupal.
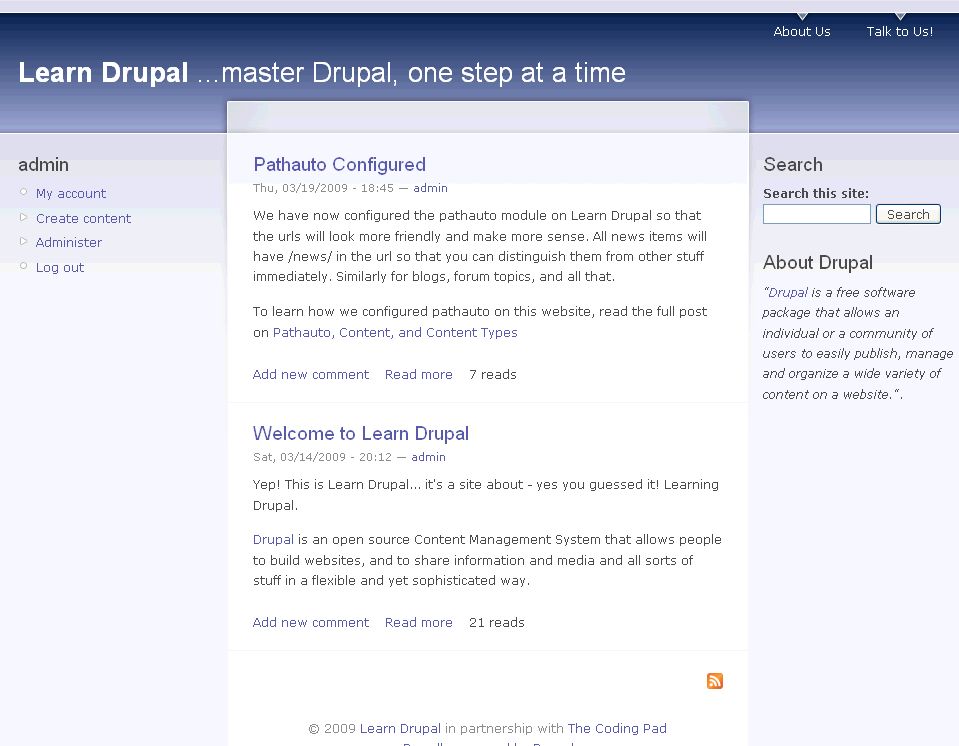
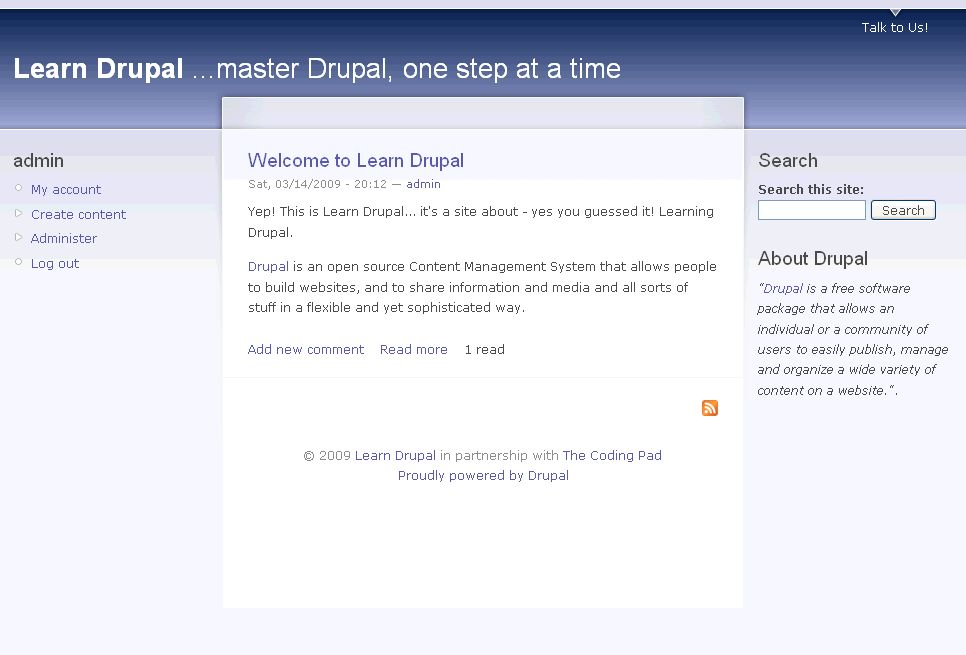
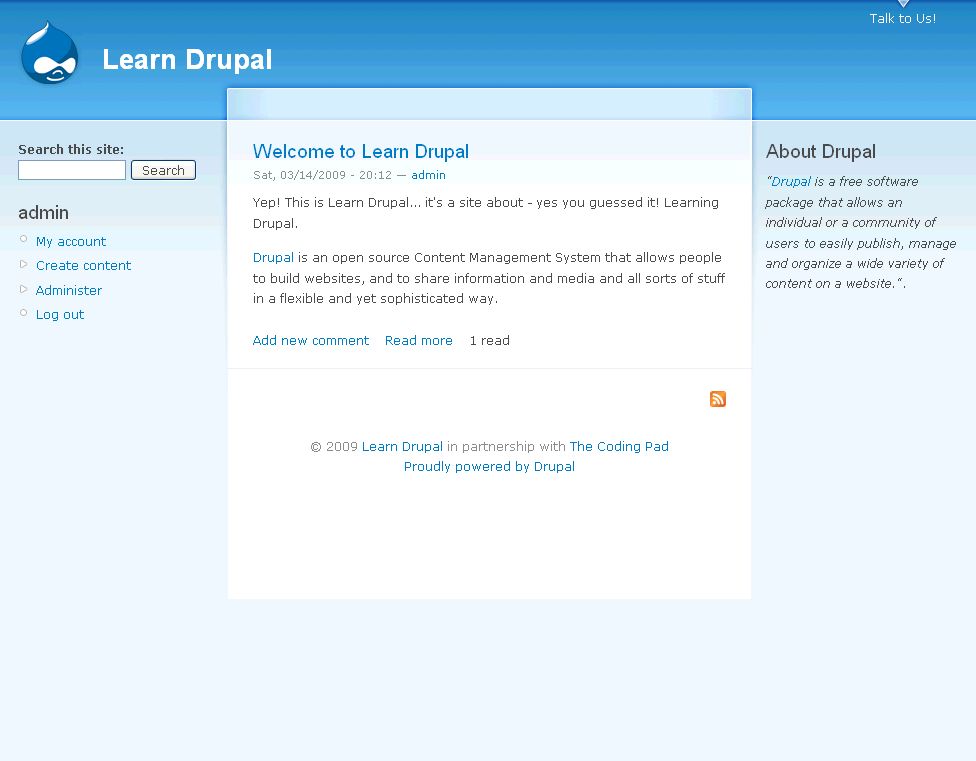
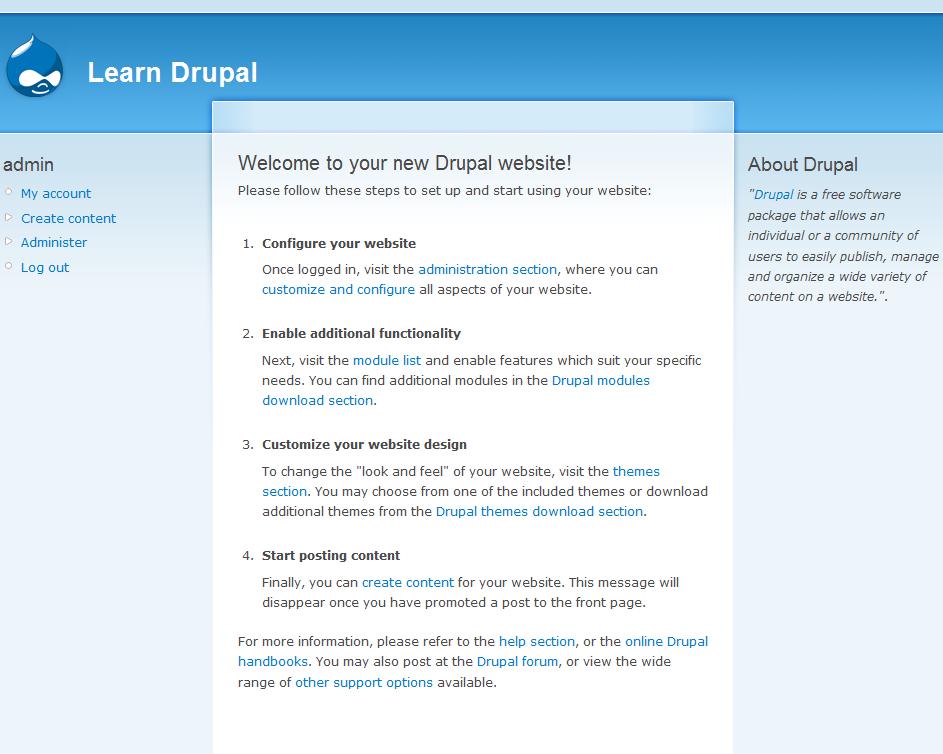
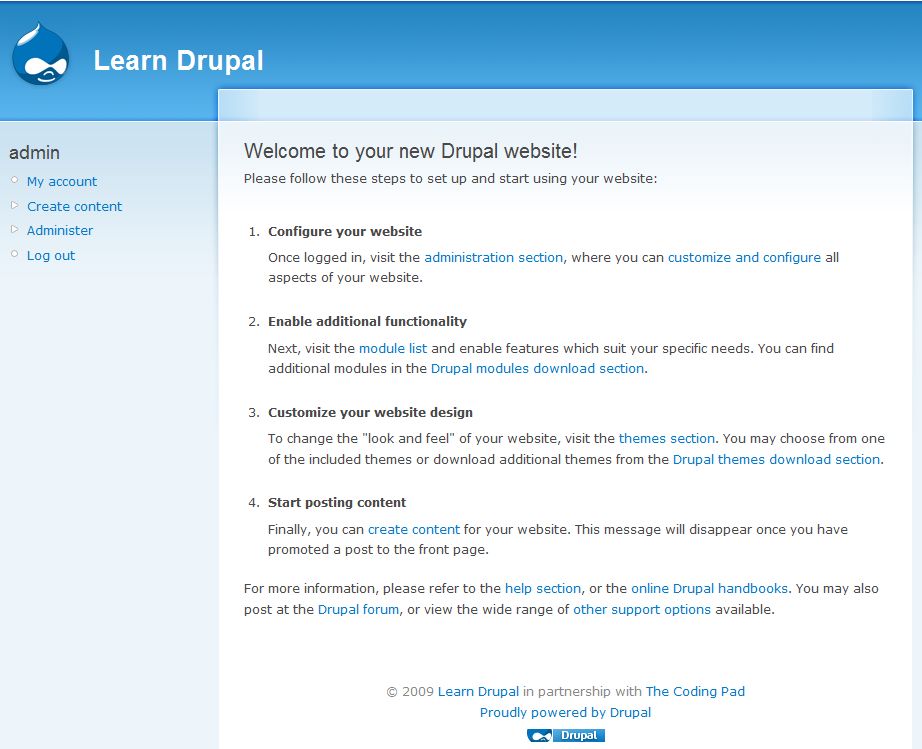
So far our website looks something like this: (you can click on the images for a larger view)
In this post we're going to start looking at the basics of the interaction part of our website. What do visitors to our website see when they land on the front page? What can they do with the content they see on our website? Do we want them to be able to interact with the website at all, or do we want them to come, see, read, and leave? Well, in the case of a business website that may be your intention. But in most cases, you want your users to interact with your website, to leave their thoughts on the content, maybe even to contribute content, to vote on polls, to comment on photos, maybe even to start and maintain their own page on your website. Well, it all starts with user management, which we're going to talk about today.
Tag Archives Drupal website
Welcome to part 7 of our tutorial on building a website with Drupal 6. Previously we covered:
Part 1: Introduction
Part 2: Installing Drupal 6
Part 3: Configuring your Site
Part 4: Playing with Blocks
Part 5: Playing with Modules
Part 6: Playing with Themes
As we go through this tutorials I am building a Drupal resource site called Learn Drupal. In the last tutorial we played with blocks and planned and started implementing the layout of our website. So our website so far looks like this:
In the last couple of posts we talked about modules and themes and learned how to enable the core modules and the themes that come with the default Drupal install. Today we're going to talk about installing and enabling contributed modules and themes so that we can extend the functionality of our website and have more options with what themes to use.
Welcome to part 6 of our tutorial on building a website with Drupal 6. Previously we covered:
Part 1: Introduction
Part 2: Installing Drupal 6
Part 3: Configuring your Site
Part 4: Playing with Blocks
Part 5: Playing with Modules
As we go through this tutorials I am building a Drupal resource site called Learn Drupal. In the last tutorial we played with blocks and planned and started implementing the layout of our website. So our website so far looks like this:
We talked about site layout when we discussed blocks in part 4 of this series, and in part 5 we discussed functionality using modules. The two main basic components left to consider are appearance, and content. We will tackle the first of these two, appearance, in this post.
Welcome to part 5 of our tutorial on building a website with Drupal 6. Previously we covered:
Part 1: Introduction
Part 2: Installing Drupal 6
Part 3: Configuring your Site
Part 4: Playing with Blocks
As we go through this tutorials I am building a Drupal resource site called Learn Drupal. In the last tutorial we played with blocks and planned and started implementing the layout of our website. So our website so far looks like this:
(You can click on the images for larger views)
In this post we are going to continue working on our site, building it and adding functionality to it. We know what we want our site to look like, and now we want to decide what functionality we want to have, and how to achieve our goals with modules.
Welcome to part 4 of our tutorial on building a website with Drupal 6. Previously we covered:
Part 1: Introduction
Part 2: Installing Drupal 6
Part 3: Configuring your Site
As we go through this tutorials I am building a Drupal resource site called Learn Drupal. So our website so far looks like this:
(You can click on the images for larger views)
In the last post we did some site configuration, modified our footer, added a slogan and more.
In today's post and over the next few posts we're going to start build out site out, by looking through the options in the admin section of Site Building and laying out our site, adding sections, and adding functionality.
Today we get to play with blocks!