Tag Archives Drupal website

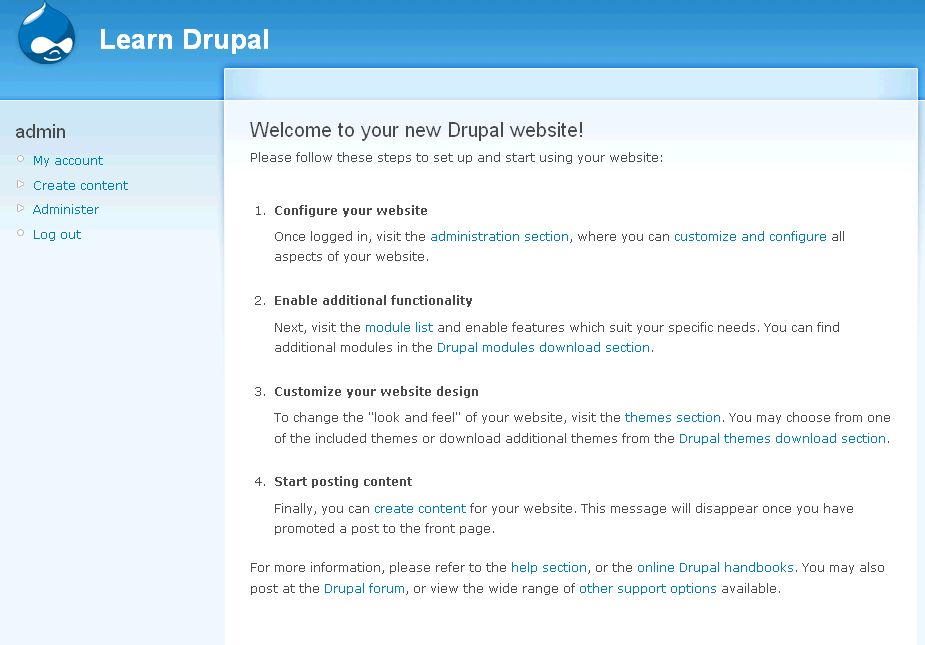
Welcome to part 3 of our tutorial on building a website with Drupal 6. In part 1 we did a brief introduction, and in part 2 we installed Drupal.  As we go through this tutorials I am building a Drupal resource site called Learn Drupal.  So our website so far looks like this: (You can click on the images for larger views) installsuccess2 In this installment, we're going to further configure our website and learn more about the administrative back end of a Drupal website.  So log in to the website with your admin username and password.  On the left side is a navigation bar, and we're going to click on "Administer" and look at the admin back end.

In the first part of this tutorial we introduced Drupal 6.  As part of your homework I asked that you install a webserver and get an FTP program so that you can install and run Drupal.  In this tutorial we're going to go ahead and start the process of installing and configuring our Drupal install. The website that I am building and showing you screenshots of is Learn Drupal, the Drupal resource site that I mentioned in the last post. I am building it online so that you can follow along or visit later and see how different things that we mention here were implemented. 1. Create your settings.php file. You can do this step before or after you upload the Drupal install files onto your server.  Go into the sites/default folder.  Here you will find the file default.settings.php.  Copy and paste this file and rename the copy to settings.php.  So you should now have two files in the sites/default folder - settings.php and default.settings.php.  Drupal needs both of these files to exist for the install to be successful.

In our series of tutorials on how to build a website with Drupal for newbies, we created a simple website from start to finish using Drupal 5.  Now it's time to move on.  Drupal 6 has been around and stable for a while now, and the Drupal.org website was recently upgraded to Drupal 6.  The current version out is Drupal 6.10. The developers at Drupal are now working on Drupal 7, and yesterday at DrupalCon, Dries Buytaert announced the Code Freeze date for Drupal 7 as September 1.  What this means is that after September 1 of this year, no more new features will be accepted for addition into the Drupal Core for version 7. Instead, the developers and contributors will now start working on patches and fixes, on usability and all that other good stuff. Which means, before we know it, Drupal 7 will be here! What does this mean for us?

This is the sixth segment in my series of tutorials on building a Drupal website from scratch. I have been working on a lot of stuff and sort of drifted away from working on these tutorials, but I'm back to finish this up. This definitely won't be the very last Drupal tutorial I ever do. I anticipate that you'll be seeing a lot more Drupal related stuff at the Coding Pad, but this will wrap up the beginner basic stuff on getting the website completed. OK,so far we've Introduced Drupal, learned how to install Drupal, we then set up and configured a Drupal site, and we went over how to build the Drupal site with blocks, menus, and modules. Finally, in our last tutorial, we talked about content. Recall that I have been working on a website concurrently with this tutorial: The Drupal Pad, and everything in these tutorials is implemented on that site. So in the last tutorial we looked at the options under creating content,and we discussed the various default content types. So why don't we go ahead and start fleshing out our website. Recall I said that we would start out by installing the Pathauto module so we would get our urls looking good from the start? I've decided to make that the topic of a different Drupal tutorial so as not to get things too complicated. Let's just go into content for now and we'll look at Pathauto in the next Drupal tutorial.

This is the fifth segment in a series of posts on how to build a Drupal website from scratch. In the time since I wrote the last Drupal post, I have been learning more and delving deeper into the power and beauty of Drupal, and will be sharing a lot more in future posts, but these next two posts will wrap up the basics of building a Drupal website. If you've been following this series, we have Introduced Drupal, learned how to install Drupal, we then set up and configured a Drupal site, and finally we went over how to build the Drupal site with blocks, menus, and modules. The site that I have been working on concurrently with this tutorial is The Drupal Pad, and everything in these tutorials is implemented on that site. In this final section, we're going to look at adding content to our site. We have a pretty basic website at this point, with a basic front page but not much else. Drupal comes with some inbuilt content "types", with the ability to create more. This ability to create and custom design your own content types is one of the things that makes Drupal a really powerful CMS, and we will go more into detail on this later. The two main content types built into Drupal are "Story" and "Page". By definition, Stories are articles in their simplest form: they have a title, a teaser and a body, but can be extended by other modules. The teaser is part of the body too. Stories may be used as a personal blog or for news articles. So you could use the story type to create news articles, blog post type of entries (if you don't want to enable the blog module), articles, etc. On the other hand, a page is useful if you want to add a static page, like a contact page or an about page. I find myself using pages for things such as Site Disclaimers, Terms of Use, etc. If you enabled the blog module or the poll module, then you'll have extra content types, the Poll, and the Blog Entry.

Close