Tag Archives MODx tutorial

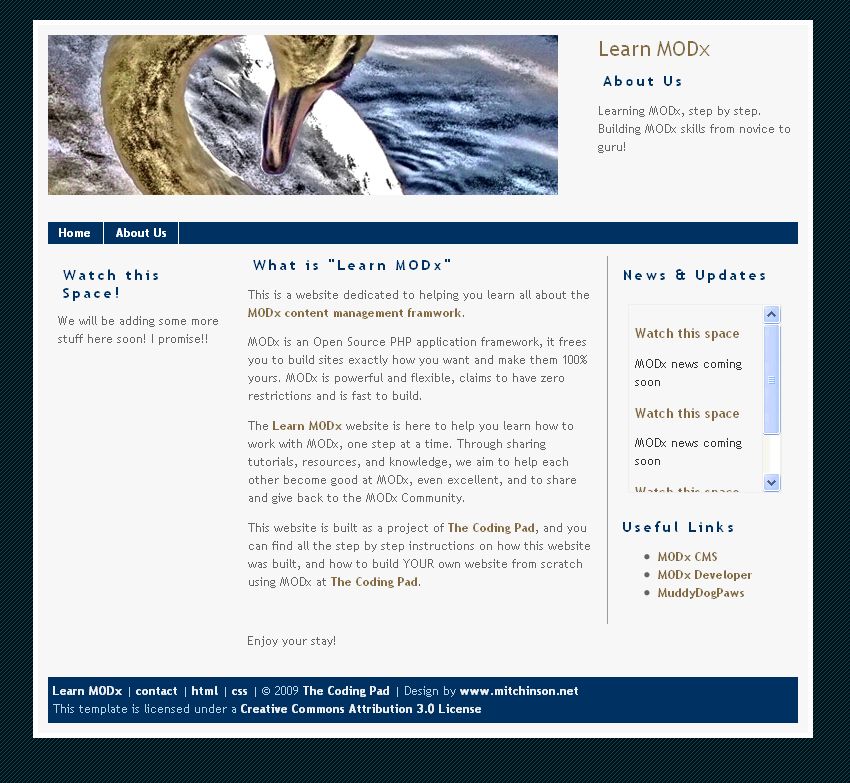
Welcome to part 10 of our series of tutorials on building a website with MODx CMS. So far we've looked at: Part 1: Introduction to MODx Part 2: Installing MODx Part 3: Working with Templates Part 4: Introducing Chunks Part 5: Introducing Snippets Part 6: Introducing Template Variables Part 7: Introducing Ditto Part 8: More Ditto Part 9: Adding a Contact Form with eForm So far things are looking good on our Learn MODx website, and we're adding more functionality and hopefully building our skills with each of these tutorials.  My hope is that by this point you've developed enough of an idea of the way MODx works that you're moving on and exploring on your own, building and testing, and hopefully you know some things that I don't about MODx and it's workings :)  So far our website looks like this: tut10modxcms1 One of the things I find myself looking for in every website I visit is a search box or link.  Whether the website is a massive knowledge portal such as Wikipedia, or a social networking site, a blog, or just a simple company website, having the ability to search the website and find the information I need without clicking through numerous links is very important to me. It then follows that I would like to add search functionality to the websites I build. This what we're going to accomplish in this segment.
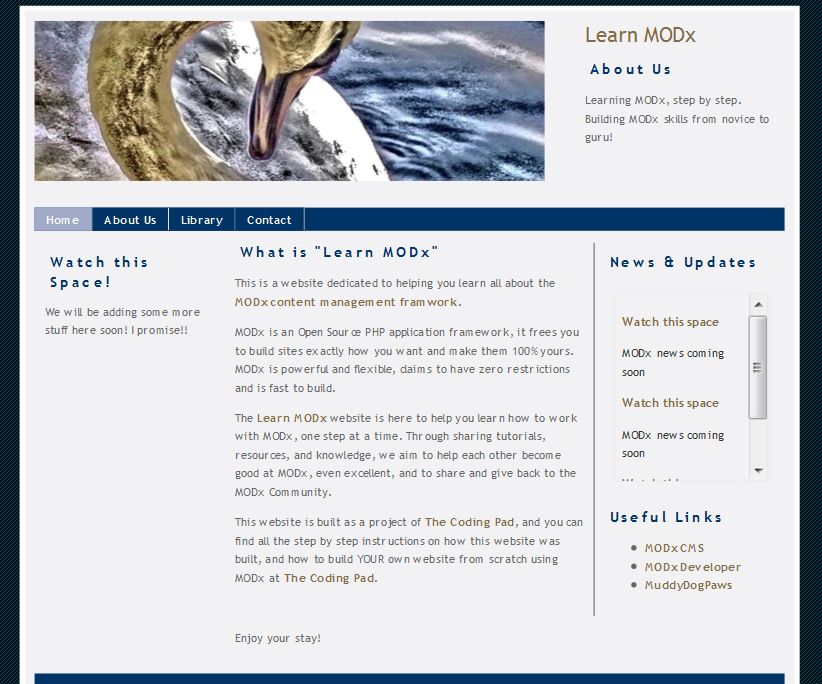
Welcome to part 9 of our series of tutorials on building a website with MODx CMS. So far we've looked at: Part 1: Introduction to MODx Part 2: Installing MODx Part 3: Working with Templates Part 4: Introducing Chunks Part 5: Introducing Snippets Part 6: Introducing Template Variables Part 7: Introducing Ditto Part 8: More Ditto As we work through these tutorials, we're building a MODx resource site called Learn MODx. So far we have a pretty functional website and I hope that you're picking up enough knowledge and interest along the way to experiment with MODx and add features and functionality to your website. In this installment, we're going to look at how to add a vital part of any website, the contact form, to our MODx website, using the eForm Snippet.

Welcome to part 8 of our series of tutorials on building a website with MODx CMS.  So far we've looked at: Part 1: Introduction to MODx Part 2: Installing MODx Part 3: Working with Templates Part 4: Introducing Chunks Part 5: Introducing Snippets Part 6: Introducing Template Variables Part 7: Introducing Ditto As we work through these tutorials, we're building a MODx resource site called Learn MODx.  In the last installation we introduced Ditto and continued working on the Library section of our resource website.  In today's installation we're going to continue working some more with Ditto, and learn how to template our output so that our Library page has the look we want.  In the learn we will learn a little more about Ditto, its parameters, and its placeholders.

Welcome to part 7 of our series of tutorials on building a website with MODx CMS.  So far we've looked at: Part 1: Introduction to MODx Part 2: Installing MODx Part 3: Working with Templates Part 4: Introducing Chunks Part 5: Introducing Snippets Part 6: Introducing Template Variables As we work through these tutorials, we're building a MODx resource site called Learn MODx.  In the last segment we introduced template variables and started to add a new section (Library) to our resource website.  We created a new template to hold information about books, and created a container to hold all the pages about books.  Recall that in MODx a container is simply a page that acts as a parent to other pages (children).  So far our website looks pretty much the same as it did before:  (you can click on the images to see a larger view) tut5modxcms81 In today's tutorial, we're going to continue working on our Library section.  We're going to publish the individual pages for the different books, and then make them accessible to our website visitors by creating a page that aggregates all our book pages using the Ditto snippet, and then make that page accessible to our visitors.  So let's get started:

Welcome to part 6 of our series of tutorials on building a website with MODx CMS.  So far we've looked at: Part 1: Introduction to MODx Part 2: Installing MODx Part 3: Working with Templates Part 4: Introducing Chunks Part 5: Introducing Snippets As we work through these tutorials, we're building a MODx resource site called Learn MODx.  In the last installment we introduced snippets and learned how to use them to add functionality to our website.  Specifically, we used the Wayfinder snippet to create a basic functional navigation system for our website.  So far our website looks like this:  (you can click on the images to see a larger view) tut5modxcms81 In this post, we're going to continue to explore the basics of MODx by looking at Template Variables  (TVs).  We will add some more functionality and features to our site and move  a step forward in our MODx knowledge.

Close